Home preparation: five steps before departure
Most wheel problems on trips happen because of rushing before departure. Go through this simple checklist a week before you leave – it will save you nerves and money.
1. Find the correct pressure
Forget internet advice like "inflate all tires to 2.2 atmospheres." Each car has its own standard.
Where to look: the factory sticker on the driver's door pillar, on the edge of the front doors, or inside the fuel filler flap. If there's no sticker – check the owner's manual in the technical specifications section.
The golden rule for road trips: when traveling, you're driving with full load (passengers, luggage, full tank). Find the "people with suitcases" icon on the sticker and inflate the tires strictly to that specification. Usually for the rear axle, it's 0.2–0.4 bar higher than the standard city pressure. This will save your tires from overheating and uneven wear under the weight of luggage.
Important: never rely on the "Max Pressure" marking on the tire sidewall – that's the maximum load for the tire itself, not a recommendation for your vehicle. Always use the factory sticker or manual.
After returning from vacation don't forget to bring the pressure back to normal (light load) values so you don't drive on overly stiff tires.
2. Get a wheel alignment a week before departure
Incorrect wheel alignment angles are unnoticeable in the city, but on the highway they can completely wear out the tread in just a few thousand kilometers. Get the adjustment done on a 3D stand in advance and take a test drive on the highway. Pay attention to whether the steering pulls to either side and whether it's straight when driving forward. If the mechanic misses something, you'll have a few days to notice and fix it.
3. Tire rotation
If you're planning a long route (over 7,000–10,000 km), swap the front and rear tires. Front tires wear more on the sides due to turning, while rear tires wear more in the center. Rotation helps the tread wear evenly.
4. Prepare the spare tire "with a buffer"
Check the pressure in the spare tire. Inflate it slightly above normal (e.g., 2.5 bar instead of 2.2). Tires in the trunk slowly lose air over time. If you need the spare six months later, it won't be flat. And you can release the excess air before installation in 10 seconds.
5. Check tire condition and balancing
Inspect each wheel. Tread depth should be at least 1.6 mm (by law), but for long distances it's better to have 3–4 mm. Look for cracks on sidewalls, bulges, cuts. If you notice anything suspicious – replace the tire, don't risk it.
Balancing is equally important. At speeds above 100 km/h, even a slight imbalance causes vibration that transfers to the steering wheel and quickly wears out the suspension. If you feel vibration while driving in the city – be sure to visit a tire shop and balance all wheels before the trip.
On the highway: heat, water and altitude
About 90% of the journey to the resort is on regular highways. Here it's important to watch the weather and your driving pace.
Monitor heating in hot weather
Long drives on hot asphalt on the way south significantly heat the air inside the tires. Pressure increases on its own. If it's +35 °C outside, don't frantically release air while driving. Just stop for 15 minutes in the shade – let the rubber and brakes cool down.
Watch out for ruts in the rain
Water collects in ruts worn by trucks. At speeds above 70–80 km/h, the wheel can "float" on a water cushion (aquaplaning). In the rain, reduce speed and position the car so that the wheels drive on the dry ridges of the ruts.
Use cruise control – smooth driving without sudden braking and acceleration preserves the top layer of rubber and saves fuel.
Altitude effect
If your resort is high in the mountains, remember: as you climb, atmospheric pressure drops, and tire pressure increases (roughly 0.1 bar for every 1000 meters of elevation). Check the tires with a pressure gauge upon arrival and, if necessary, adjust to the correct pressure (when cold).
Serpentine roads and mountain passes: protect your tires
Often the final part of the journey to the sea or resort passes through hills and mountain passes. Here the rules change.
- Protect your tires from brake overheating. On long descents, brake discs heat up and transfer that heat to the wheels and tires. Overheated rubber wears out much faster. Use engine braking (shift to a lower gear) and take short breaks at viewpoints to cool down.
- Remember the altitude effect – it works on serpentine roads too.
Driving to wild beaches: myths about pressure
When you decide to leave the asphalt for a picturesque waterfall, secluded beach, or viewpoint, you'll encounter dirt, sand, or rocks. How should you behave here?
The most common myths travelers hear:
- "Let just a little air out – it'll be softer" – and then they crack the rim on a sharp rock. On hard ground, pressure should be high.
- "For sand you need to go down to 1.0 bar – that's it" – but for loose sand you need even lower, down to 0.5 bar. For low-profile tires, this is dangerous.
- "Let the air out and you can drive all the way home" – but on asphalt, the tires overheat and get damaged. You need to bring the pressure back up immediately.
Let's figure out what to do in each case.
| Surface | Speed | What to do with pressure |
|---|---|---|
| Rocky ground | Fast (from 40 km/h) | Keep HIGH (mistake cost – tire puncture, rim to the rim) |
| Sharp rocks | Slow (5–10 km/h) | Slightly LOWER (soft tire "flows" around the sharp edge) |
| Beach sand or wet mud | Very slow | Significantly LOWER (to 1.0 bar). Contact patch grows, car won't dig in. |
Important rules when driving on dirt, sand, or rocks:
- For short bad sections – don't touch the pressure. Move in first gear at walking speed (5–10 km/h). At this speed, the tire won't take a strong hit, and normal pressure protects the rim from damage. Choose your path so that sharp rocks and branches pass between wheels or hit the tread rather than the sidewall.
- If you did lower the pressure for sand or mud – immediately after getting back on hard surfaces (asphalt, concrete), be sure to inflate the tires to normal. Driving on hard surfaces with low pressure overheats the sidewalls, worsens handling, and can destroy the tire.
- For low-profile tires – lowering pressure below 1.5 bar is dangerous (can cause debeading). For them, it's better to choose slow driving without releasing air.
- For better sand traction – turn off the stability control system (ESP) if you have it. This allows the wheels to spin slightly and not dig in.
The gentleman's kit for the trunk
On a long journey, you can only rely on yourself. Here are four things that can really save you:
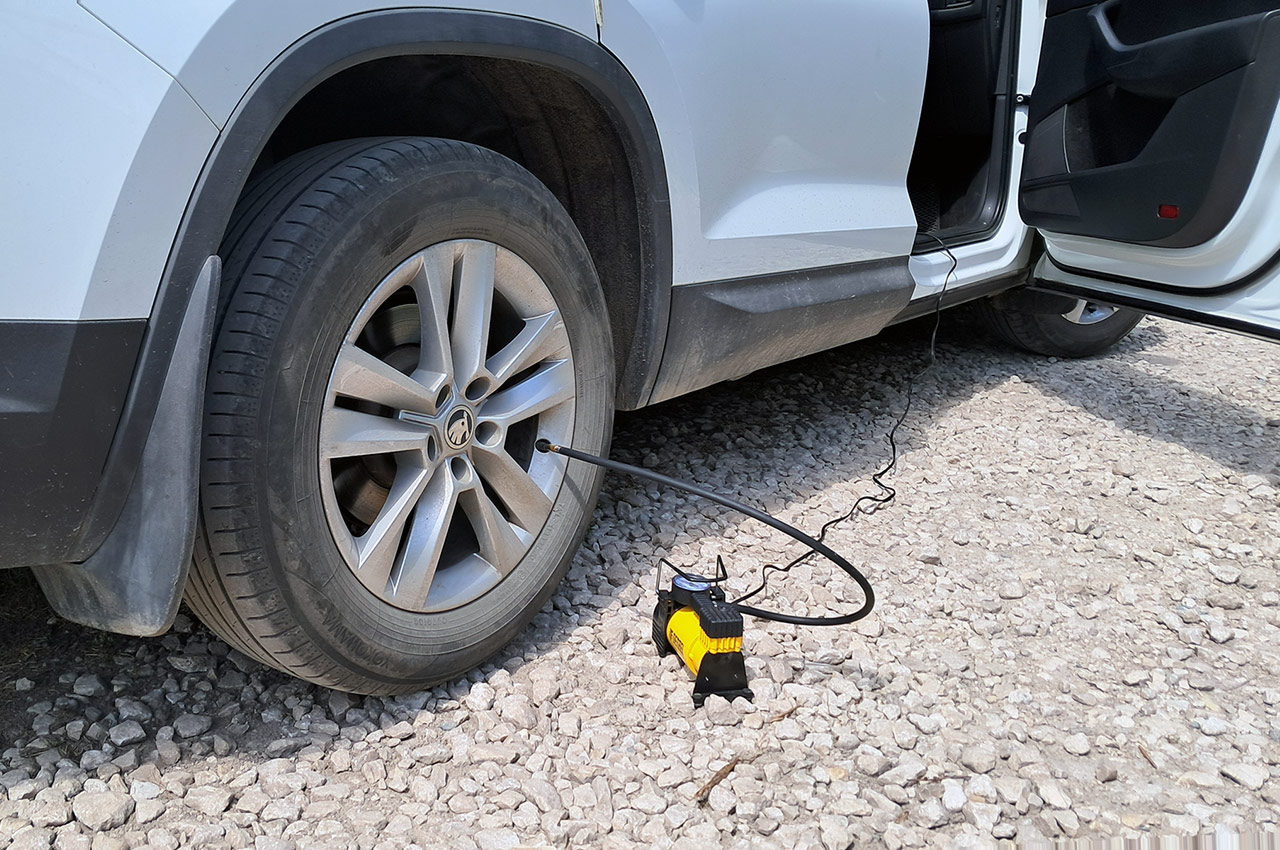
- Electric air compressor. Forget about foot pumps – manually inflating a tire in the heat or uphill is very hard. Choose a compressor that connects with "crocodile" clips directly to the battery (it's more powerful and won't blow a fuse in the cabin).
- A good pressure gauge. Digital or dial-type, to accurately check tires "cold."
- A plug and glue kit for tubeless tire repair – helps fix a simple puncture from a nail or screw right on the roadside.
- A properly inflated spare tire and a working jack.
Tire selection tip: If you're choosing tires for frequent trips, look for models with the XL (Extra Load) marking. These are reinforced tires with a stronger sidewall. They handle high-speed highway driving well and are much more resistant to accidental damage on country roads. Keep in mind that because of the stiffer sidewall, comfort on bumps may be slightly lower than with regular tires – that's the price of reliability.
After the sea: salt is the main enemy
You're back, you've exhaled, you've unloaded the suitcases. The car is probably covered in dust, sand, and droplets of sea water. The first thing you do – go wash the body. That's right. But your wheels and rims often remain "out of sight." And that's a mistake. Because salt that settles on rubber and metal works quietly but destructively.
Why is salt not just dirt? Sea water is an aggressive electrolyte. It oxidizes metal, eats into the paint on rims, and even into the rubber compound of tires. If you leave it for a few days, white streaks will appear on the rims, which over time will turn into corrosion. And the rubber will lose elasticity, become harder, and start to crack.
Four steps to save your wheels after vacation
- Wash immediately, don't put it off "for later." The ideal option is to go to a car wash on the day you return. Ask the washers to direct a high-pressure stream into hard-to-reach places. If washing yourself – don't skimp on water. But don't use hot water – temperature differences can make the rubber "deform."
- Special cleaner is your best friend. Regular car shampoo won't handle salt deposits. Use a neutral rim cleaner or even a tar remover – it washes off sticky marine grime well. Apply, let it sit for a couple of minutes, rinse. Don't forget the tire sidewalls.
- Dry and treat. Moisture needs to be removed completely. Dry the rims with a soft cloth, especially between the spokes and around the brake disc ventilation holes. After drying, you can apply a special tire conditioner – it restores elasticity and creates a protective film. For rims – don't use silicone compounds on brake surfaces, only on the outside.
- Check pressure and balancing. After a long drive and possibly extreme conditions on dirt roads, pressure may have "drifted." And balancing weights sometimes fall off on bumps. Visit a tire shop and check for vibrations.
The myth that "salt is no big deal, it'll all wash off in the rain" – doesn't work. Rain will only wash off the top layer of dirt, while salt will remain in cracks and between rim spokes. In a week you'll notice a white residue, and in a month – small pitting.
Bonus tip for those who store wheels: If you're planning to switch to winter tires and store the summer wheels, be sure to wash them thoroughly before storing. Dry them. And store them in a dark, dry place, preferably in tire covers. If there are chips on the rims – touch them up with automotive paint.
In short – what to do immediately after returning:
- wash the rims and tires with cleaner, paying attention to the back side;
- dry with a soft cloth, especially ventilation holes;
- apply protective treatment for rubber (but not on the tread);
- check pressure and get a balance check if in doubt;
- a couple of hours after washing, check the pressure again – water may have cooled the tires, and it could be lower than normal;
- check and if necessary lubricate the wheel bolts/nuts – salt may have affected them too.
Bottom line: These simple steps will help you avoid most tire problems on vacation. The main thing is not to rush before departure and pay attention to the little things.